
Description
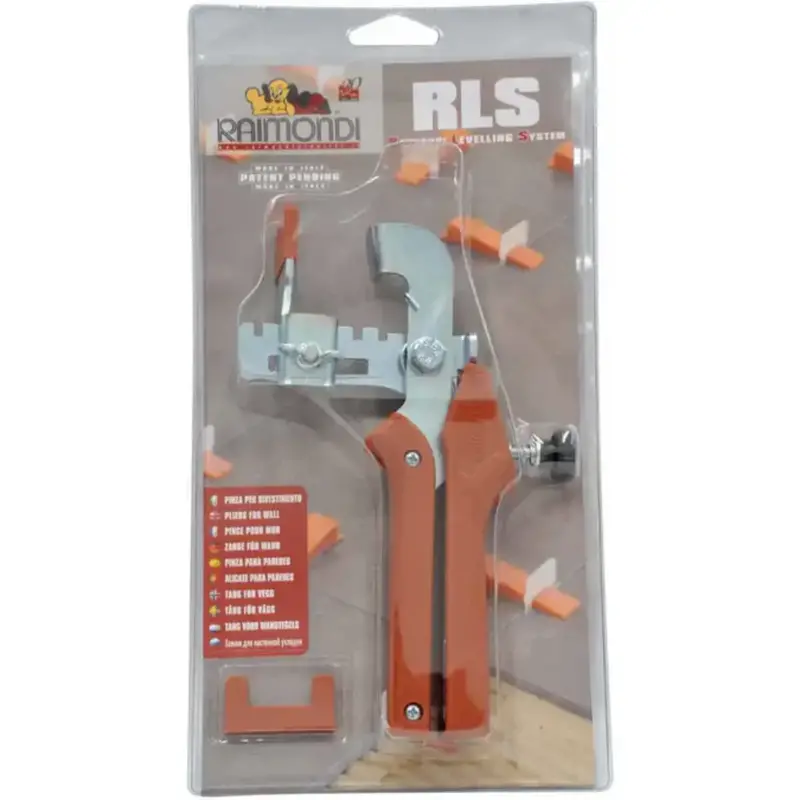
Raimondi Tile Leveling System Pliers – Floor & Wall Options
Features & Benefits
- Precision Adjustment
Use the traction-adjustable handle to control wedge pressure and prevent tile warping or breakage. - Wall & Floor Pliers Available
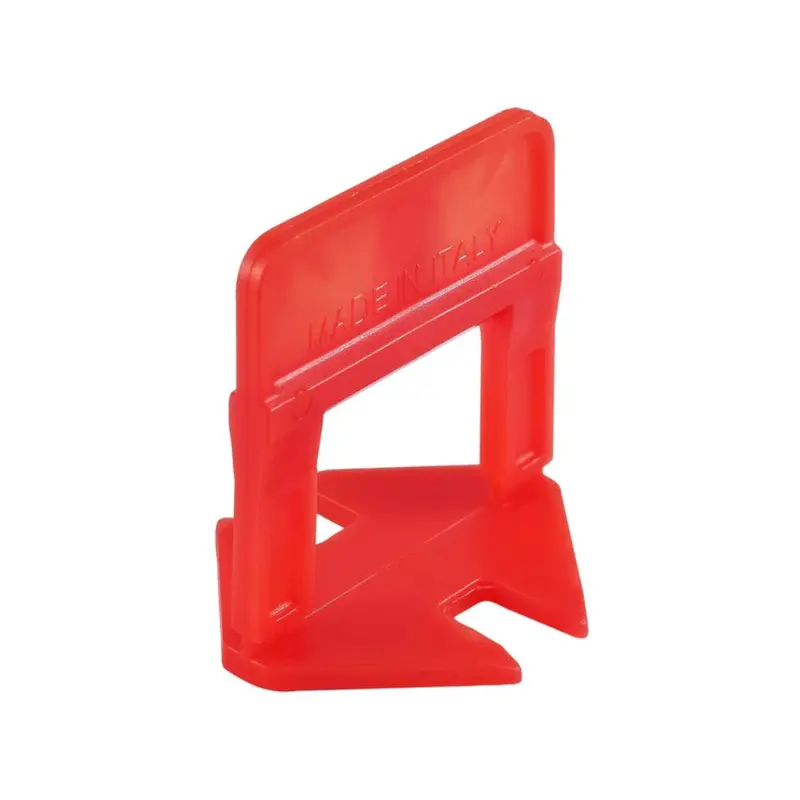
Choose the Wall Pliers for vertical installations or Floor Pliers for large-format horizontal tile installs. - Compatible with All Raimondi HD Clips & Wedges
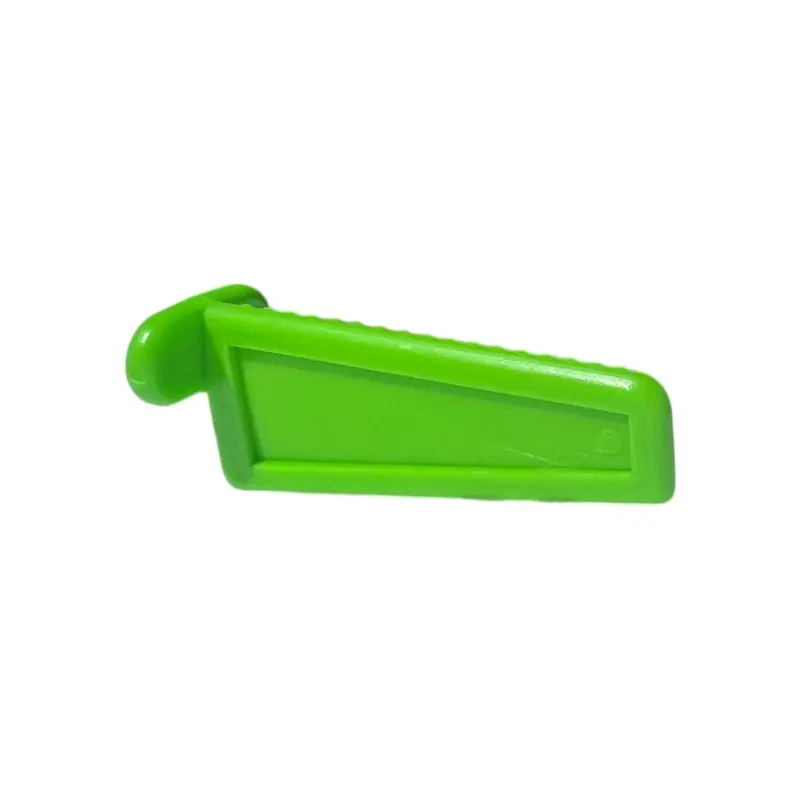
Works with 1/64″, 1/32″, 1/16″, 3/32″, 1/8″, and 3/16″ HD clip variants and Raimondi wedges. - Saves Time on Large Format Installs
Speeds up wedge insertion and improves setting consistency—ideal for LFT (large format tile) and stone panels. - Heavy-Duty Construction
Built for daily use by professionals. Metal ratcheting mechanism and ergonomic handle for comfort and durability. - Prevents Lippage During Adhesive Curing
Locks tiles in position while thinset cures, ensuring a perfectly flush surface without tile settling.
Technical Specifications
| Specification | Value |
|---|---|
| Product Type | Tile Leveling System Pliers |
| Compatible With | Raimondi HD Clips & Wedges |
| Minimum Joint Size | 1/16″ (1.5 mm) |
| Tile Thickness Range | 1/8″ to 3/4″ (3 mm to 20 mm) |
| Pliers Variants | Wall Pliers, Floor Pliers |
| Adjustable Tension Control | Yes (traction dial on handle) |
| Material | Steel frame, plastic ergonomic grip |
How to Use the Raimondi Leveling System Pliers
-
Spread Adhesive: Trowel thinset evenly under tiles.
-
Insert Clips: Place clips beneath each tile edge, using 1 or 2 per side depending on size.
-
Place Tile & Tap Down: Use a rubber mallet for flush seating.
-
Insert Wedges with Pliers: Squeeze wedges into clips using the traction-adjustable pliers.
-
Remove After Curing: Once adhesive sets, break clips off using pliers or by kicking in the direction of the joint.
Explore more from our collection.

Reviews
There are no reviews yet.